How to Weld With a Hot Air Hand Tool


In roofing, you'll often be required to perform an overlap weld to join two pieces of thermoplastic (i.e. TPO, PVC, PPE), or plastic-coated fabrics. Below we've outlined the steps to seam welding with a hot-air hand tool.
NOTE: Before welding your final product, perform a test weld on scrap material. This ensures that you’re using the proper heat settings and welding technique. We’ve also included tips on how to test the quality of your weld, and how to adjust your hot-air hand tool based on the results of this test.
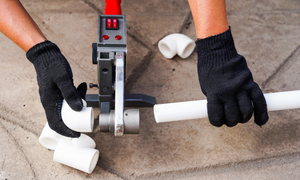
- Attach an overlap welding nozzle to your hand tool, and preheat it to the proper welding temperature.
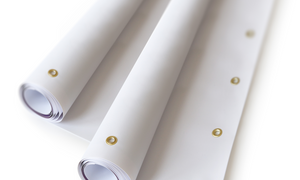
- Overlap the two pieces of plastic material, or plastic coated fabric, by 1-2 inches.
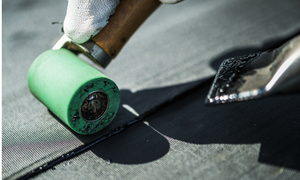
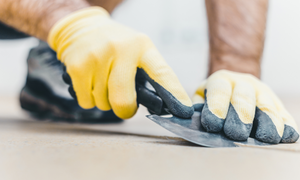
- Insert the nozzle between the fabric pieces, and place the pressure roller on the top fabric near the end of the nozzle.
- Heat the material, and simultaneously apply direct pressure with the pressure roller to secure the bond.
- Make sure to weld all the way to the seam edge, and ensure that there are no gaps or voids.
To quality test your overlap weld, join two pieces of scrap material together, let the seam cool for 10-15 seconds, and then rip the pieces apart. With a good weld, part of the welded fabric will be stuck to the other piece, and you will see the fabric’s scrim.
If only part of the fabric tears away and/or no scrim is showing, you’ll need to apply more heat, increase the pressure or weld slower. If the fabric bubbles or distorts or if the scrim melts, you’ll need to turn down the heat and/or weld faster.
- Robert Heater